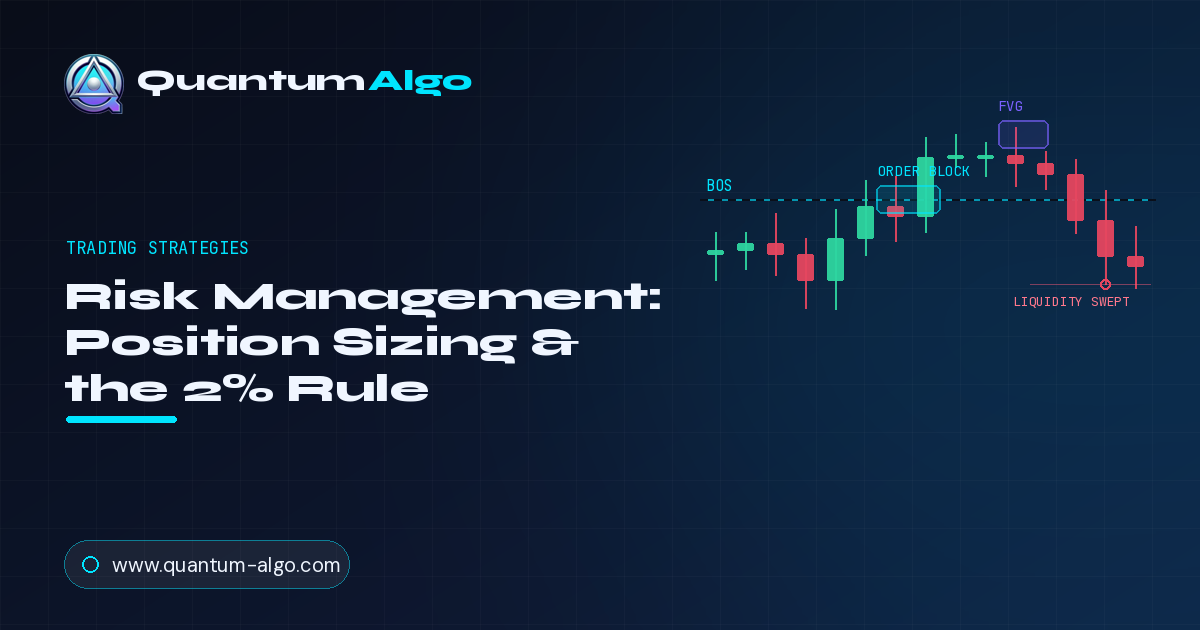
Risk management in trading means limiting potential losses on each trade to a fixed percentage of your account — typically 1–2% per trade for beginners and up to 3% for experienced traders. Position sizing is calculated using the formula: Position Size = (Account Balance × Risk Percentage) / (Entry Price − Stop Loss Price). For example, with a $10,000 account risking 1% ($100) on a trade with a 50-pip stop loss, your position size would be 0.2 lots on forex. The most critical risk management rules: never risk more than 2% per trade, set a daily loss limit of 5%, and maintain a minimum 1.5:1 risk-to-reward ratio on every trade.
Last verified: April 15, 2026 · Includes position sizing calculator and risk management templates.
The best trading signals in the world are worthless without proper risk management. Risk management is not optional — it's the single factor that separates surviving traders from blown accounts. This guide covers the frameworks every SMC trader needs.
The 1-2% Rule
Never risk more than 1-2% of your total account on any single trade. This is non-negotiable. At 2% risk per trade, you can survive 25 consecutive losses before losing 50% of your account — statistically almost impossible with a decent strategy. At 10% risk per trade, just 7 losses in a row halves your account.
Position Sizing Formula
Position Size = (Account Balance × Risk %) ÷ (Entry Price − Stop Loss Price). For a $10,000 account risking 2% with a 50-pip stop on EUR/USD: ($10,000 × 0.02) ÷ $50 = $200 ÷ $50 = 4 micro lots. Quantum Algo displays the exact distance to each order block and FVG boundary, making stop loss calculation instant.
R-Multiples: Thinking in Risk Units
Instead of measuring profits in dollars or pips, measure them in R — where 1R = the amount you risked. A trade where you risked $100 and made $250 is a 2.5R win. This standardization lets you compare strategies regardless of account size. A consistently profitable SMC system should average 1.5R to 2.5R per winning trade.
Drawdown Management
Set a maximum daily drawdown (e.g., 3R or 6% of account) and stop trading for the day when you hit it. Set a weekly drawdown limit (e.g., 6R or 10%) and step back for the rest of the week. These circuit breakers prevent emotional revenge trading — the number one account killer.
SMC-Specific Risk Tips
Stop placement: Always place stops beyond the structural invalidation point — below the order block wick for longs, above it for shorts. Tight stops inside the OB get swept; stops beyond it survive the volatility.
Partial profit taking: Take 50% off at 1R, move stop to breakeven, and let the remainder run to 2R or the next liquidity level. This locks in profit while maintaining upside exposure.
Correlation risk: Don't run 5 long positions on correlated assets (e.g., EUR/USD, GBP/USD, AUD/USD all long). That's effectively 5× your intended risk on a single "dollar weakness" thesis.
Why Risk Management Matters More Than Your Win Rate
Most traders obsess over finding the perfect entry — the ideal order block, the cleanest Fair Value Gap, the most textbook liquidity sweep. Yet the difference between a profitable trader and a losing trader is rarely found in the entry. It is found in how they manage risk. A trader with a mediocre 45% win rate who maintains a consistent 1:2.5 risk-to-reward ratio will generate more profit over 100 trades than a trader with a 65% win rate who averages 1:0.8 R:R. The math is unforgiving: risk management is the single largest determinant of long-term profitability.
This is not a theoretical concept — it is backed by decades of performance data from professional trading firms. Hedge funds and proprietary trading desks enforce strict risk parameters not because their traders lack skill, but because even the best traders experience losing streaks, drawdowns, and unexpected market events. The risk management framework ensures that no single trade, no single day, and no single week can cause irreparable damage to the account. Individual trades are disposable; the account is not.
The Fixed Fractional Method: A Step-by-Step Walkthrough
Fixed fractional position sizing means risking the same percentage of your account on every trade, regardless of how confident you feel. If you risk 1% per trade on a $10,000 account, your maximum dollar risk per trade is $100. Your position size is then determined by dividing this dollar risk by the distance between your entry and your stop-loss. This formula ensures that your position size automatically adjusts as your account grows or shrinks.
Here is a concrete example. You identify a bullish order block on BTC/USDT at $62,000 with a stop loss at $61,500 — a $500 risk per coin. Your account is $10,000 and you risk 1%. Maximum dollar risk = $100. Position size = $100 ÷ $500 = 0.2 BTC. Your target is $63,500, giving you a 1:3 R:R. If you win, you make $300 (3% of account). If you lose, you lose $100 (1% of account). This asymmetry, applied consistently over hundreds of trades, is how accounts grow.
The critical discipline is never deviating from the formula. When a setup looks particularly strong, the temptation is to risk 3% or 5% instead of 1%. This is how accounts blow up. That "perfect setup" can and will sometimes fail — and if you risked 5% on it, a string of three such failures puts you down 15%, creating psychological pressure that leads to revenge trading and further losses. The formula works because it removes emotion from position sizing entirely.
Understanding Drawdown and Recovery Mathematics
Every trader experiences drawdowns — periods where the account balance declines from its peak. The mathematics of drawdown recovery are counterintuitive and critically important. A 10% drawdown requires an 11.1% return to recover. A 20% drawdown requires 25%. A 50% drawdown requires a 100% return — you need to double your remaining capital just to get back to where you started. This asymmetry is why preventing large drawdowns is more important than chasing large gains.
With 1% risk per trade, even a devastating losing streak of 10 consecutive losses results in roughly a 10% drawdown — which requires only 11% to recover. With 5% risk per trade, that same 10-loss streak produces a 40% drawdown requiring a 67% return to recover. The difference in recovery difficulty is enormous, and it is entirely controlled by your per-trade risk percentage. Professional traders almost universally risk between 0.5% and 2% per trade because this range keeps drawdowns recoverable even during the worst statistical outcomes.
Scaling In and Scaling Out
Scaling in means adding to a winning position as it moves in your favor. The SMC approach to scaling in uses structural confirmations: if you enter at an order block with a partial position, you can add to the position when price creates a new BOS in your direction or when price pulls back to a secondary order block on a lower timeframe. The key rule is that each additional entry must have its own structural justification and its own stop-loss level. Never add to a position simply because it is in profit — add because the market is confirming your thesis.
Scaling out means taking partial profits at predetermined levels. A common approach is to take 50% of the position off at the first structural target (the nearest opposing order block or liquidity level) and let the remaining 50% ride with a stop moved to breakeven. This guarantees a profit on the trade while maintaining exposure to larger moves. The psychological benefit is significant: knowing you have already locked in profit reduces the anxiety of watching price fluctuate and makes it easier to hold the remaining position through normal pullbacks.
Correlation Risk: The Hidden Account Killer
Risk management extends beyond individual trades to portfolio-level risk. If you are long BTC, long ETH, and long SOL simultaneously, you are not taking three independent 1% risk trades — you are taking a single 3% directional bet on crypto going up. These assets are highly correlated, meaning they tend to move together. A market-wide selloff hits all three positions simultaneously, turning what felt like diversified risk into concentrated exposure.
The solution is to limit your total correlated exposure. A practical rule is to never risk more than 3% of your account on trades that share the same directional thesis in correlated markets. If you are already long two crypto assets, do not add a third. If you are short EUR/USD and short GBP/USD, recognize that both trades are essentially betting on dollar strength and cap your combined risk accordingly. This portfolio-level awareness prevents the scenario where everything goes wrong at once and inflicts a drawdown that takes months to recover from.
Building a Risk-First Trading Routine
Professional traders start every session with risk, not analysis. Before looking at a single chart, answer these questions: What is my current drawdown from peak? How many consecutive losses have I had? Is my per-trade risk still appropriate given my current account balance? Only after confirming that your risk parameters are intact do you begin your technical analysis. This routine ensures that emotional impulses from recent wins or losses do not contaminate your position sizing.
Track your risk metrics weekly. Calculate your average R:R over the last 20 trades, your current drawdown percentage, and your daily risk exposure. If your average R:R has dropped below your target (say, below 1:1.5), investigate whether you are cutting winners too early or letting losers run too long. If your drawdown exceeds 10%, consider reducing your per-trade risk from 1% to 0.5% until you return to positive equity momentum. These are the practices that separate traders who survive long enough to become consistently profitable from those who blow up within the first year.
The Psychology of Taking Losses
Every risk management system is only as good as the trader's ability to actually take the loss when the stop is hit. Intellectually, most traders understand that losses are part of the game. Emotionally, watching a position go from profit to breakeven to a loss triggers the same neural pathways as physical pain. This is why many traders move their stops, remove them entirely, or average down into losing positions — actions that transform manageable 1% losses into account-devastating 10%+ losses.
The most effective psychological tool for taking losses gracefully is pre-acceptance. Before entering any trade, explicitly acknowledge that you are willing to lose the amount at risk. Say it out loud if necessary: "I am risking $200 on this trade, and I am completely okay with losing $200." If you cannot sincerely make that statement, your position is too large. Reduce it until the potential loss feels genuinely acceptable. This pre-acceptance reframes the loss from an unexpected negative event to a pre-authorized business expense, dramatically reducing the emotional impact when the stop triggers.
The ultimate goal of risk management is not to avoid losses — losses are inevitable and necessary. The goal is to ensure that your losses are small, controlled, and recoverable, while your wins are large enough to more than compensate. A well-managed trading account experiences small, predictable drawdowns followed by steady recoveries. A poorly managed account experiences catastrophic drawdowns that take months or years to recover from, if recovery happens at all.
Position Size Calculator — Run Your Numbers Now
Position sizing is one formula, but it is the formula that decides whether a losing streak is survivable. Enter your account size, the percentage you are willing to risk, and the distance to your stop. The calculator does the rest — nothing is sent anywhere.
Position Size Calculator
Risk per trade in currency, position size in units, and what a run of losses would actually cost you.
Need lot sizes, pip values or compounding projections? Use the full free trading calculators — position size, risk:reward, pip value, lot size and compound growth.
What Risk Percentage Actually Costs You
The gap between risking 1% and risking 5% per trade does not feel like much on a single trade. Across a losing streak — which every strategy has — it is the difference between a dent and a destroyed account.
Losing Streak Simulator
See what consecutive losses do to your capital at different risk levels, and how much you then need to gain just to get back to breakeven.
The recovery figure is the cruel part: a 50% drawdown requires a 100% gain to get back to even. Losses and recoveries are not symmetrical.
Drawdown vs the gain required to recover
Recovery cost rises non-linearly. This asymmetry is the single strongest argument for small, fixed risk per trade.
0.5–1% — professional
Ten consecutive losses cost under 10% of capital. Recoverable, and crucially it keeps you emotionally able to take the next valid setup.
2% — the upper bound
Widely quoted as the maximum for discretionary traders. Ten losses take roughly 18% — painful but survivable with discipline.
5% — fragile
Ten losses cut capital by 40%, needing a 67% gain to recover. Most accounts do not come back from here, and decision quality collapses first.
10%+ — gambling
A normal losing streak is terminal. At this level the strategy is irrelevant; position sizing alone determines the outcome.
Risk:Reward and the Win Rate You Actually Need
Win rate is meaningless in isolation. What matters is win rate and reward-to-risk together, because they jointly determine whether the strategy makes money. A 40% win rate is highly profitable at 3:1 and a losing system at 1:1.
| Reward:Risk | Breakeven win rate | Win rate for solid profit | Verdict |
|---|---|---|---|
| 1:1 | 50% | 60%+ | Fees and slippage make this hard to sustain |
| 1.5:1 | 40% | 50%+ | Workable with a real edge |
| 2:1 | 33% | 45%+ | The practical sweet spot for most systems |
| 3:1 | 25% | 35%+ | Forgiving — losing streaks hurt far less |
| 5:1 | 17% | 25%+ | Rare setups; requires patience and discipline |
Risk levels drawn on the chart, before you enter
Quantum Algo prints entry, stop loss and two take-profit targets sized from ATR on every signal — so the position size question is answered before emotion enters the picture.
See the indicator → Open the free calculators