Head and Shoulders Pattern: The Complete Reversal Trading Guide
| Signal type | Chart pattern (reversal) |
| Directional bias | Bearish (inverse: bullish) |
| Best context | Mature uptrend with a failed higher high (right shoulder) |
| Confirmation | Neckline break, then a retest that holds |
| Invalidation | Close back above the right shoulder |
1. What Is the Head and Shoulders Pattern?
The pattern gets its name from its visual appearance: three peaks where the middle peak (the "head") is higher than the two outer peaks (the "shoulders"), connected by a horizontal or slightly sloped support line called the "neckline." When price breaks below the neckline after forming the right shoulder, the pattern completes — signaling that the prior uptrend has likely ended and a downtrend is beginning.
The pattern appears on every timeframe and every liquid market — forex, crypto, indices, stocks, commodities. The pattern is universal because the underlying mechanic (trend exhaustion followed by distribution) is universal across markets with significant participation. For context with related patterns, see our Candlestick Patterns Guide and Price Action Trading Guide.
2. Pattern Anatomy — The 4 Critical Components
A valid head and shoulders pattern has four distinct components, each with specific requirements. Skipping any component creates a different pattern (or just noise mislabeled as head and shoulders). Here is the precise anatomy.
Component 1: The Prior Uptrend. The head and shoulders is a REVERSAL pattern — it requires an existing uptrend before the topping structure forms. Without a prior uptrend, the same shape is just three peaks that mean nothing. The minimum requirement: a sustained advance of at least 15-20% (for stocks) or a meaningful directional move on higher timeframes (for forex/crypto). The stronger the prior trend, the more meaningful the eventual reversal.
Component 2: The Left Shoulder. Price rallies to a new high within the existing uptrend, then pulls back to a temporary support level. This peak becomes the left shoulder. Volume during this rally should be high — consistent with the broader uptrend pattern. The pullback to the support level marks the beginning of the neckline formation.
Component 3: The Head. Price rallies again from the neckline support, this time pushing higher than the left shoulder's peak. This new high forms the head — the highest point of the entire pattern. Critically, volume on this rally should be LESS than the volume that drove the left shoulder. This declining volume is the first warning sign that bullish momentum is exhausting. Price then pulls back again to the neckline support area.
Component 4: The Right Shoulder. Price rallies a third time from the neckline, but this rally FAILS to reach the head's height. The right shoulder typically peaks at approximately the same height as the left shoulder. Volume on this rally should be even lower than the head's volume — confirming exhausting bullish momentum. When price pulls back and breaks below the neckline support with elevated volume, the pattern completes and the reversal trade triggers.
3. The Inverse Head and Shoulders — Bullish Variant
The pattern works in reverse for bullish reversal. The inverse head and shoulders (also called "head and shoulders bottom") signals the end of a downtrend and the beginning of an uptrend. It is just as reliable as the standard bearish pattern and follows identical rules in mirror image.
Inverse pattern structure: (1) Prior downtrend. (2) Price drops to a low (left shoulder bottom), then rallies to neckline resistance. (3) Price drops again, this time LOWER than the left shoulder — forming the head (the lowest point). (4) Price rallies back to neckline resistance. (5) A final drop fails to reach the head's depth, forming the right shoulder. (6) Price breaks above the neckline resistance, completing the bullish reversal.
Why bullish inverses are slightly more reliable: Stock markets, crypto, and indices have a long-term upward bias due to inflation, productivity gains, and adoption growth. Bottoming patterns (inverse H&S) form in environments where buying interest gradually returns, creating reliable signals. Topping patterns (standard H&S) work but face more competition from continuation patterns in long-term uptrending markets.
Win rates: Inverse head and shoulders patterns produce slightly higher win rates than standard bearish patterns (60-70% versus 55-65%) with comparable R:R. The bias reflects the upward tendency in most asset classes.
Trading the inverse pattern: Identical rules to the standard pattern in mirror form. Wait for the right shoulder to complete and price to break above the neckline resistance on elevated volume. Enter long on the breakout candle close. Stop below the right shoulder low (or the head low for wider stop). Target = head depth projected upward from the breakout point.
4. Five Rules for Identifying a Valid H&S Pattern
Most "head and shoulders" patterns identified by beginning traders fail because they violate one or more validation rules. Here are the five strict rules that separate textbook patterns from imposters.
Rule 1: Prior uptrend of 15%+ is required. Without a substantial prior advance, you are looking at three random peaks in a sideways range — not a topping pattern. The minimum required advance varies by market: 15-20% for stocks, equivalent directional moves for forex/crypto. Always measure the prior advance from the trend's origin to the left shoulder's peak. If insufficient, skip the setup.
Rule 2: The head must be measurably higher than both shoulders. If the middle peak only marginally exceeds the shoulders (under 5% higher), the pattern is weak — essentially three equal peaks rather than a clean head-and-shoulders structure. The head should be at least 5-10% higher than the shoulder peaks for a textbook pattern. Larger separations produce more reliable signals.
Rule 3: The two shoulders should be approximately symmetric. The left and right shoulders should peak at roughly the same height (within 5-10% of each other). They should also take approximately the same time to form (within 20-30% time symmetry). Highly asymmetric patterns (right shoulder dramatically higher or lower than left, or one shoulder much faster than the other) often produce unreliable signals.
Rule 4: The neckline should be horizontal or slightly sloped. The neckline connects the two troughs between the shoulders and head. The best patterns have horizontal necklines (perfectly flat). Slightly downward-sloping necklines (the right trough lower than the left) are acceptable and sometimes produce stronger reversals. Steeply upward-sloping necklines should be avoided — they often represent continuation patterns mislabeled as H&S.
Rule 5: Volume must follow the declining sequence. Volume should be HIGHEST on the left shoulder rally, LOWER on the head rally, and LOWEST on the right shoulder rally. Then volume should EXPAND on the neckline breakdown. Patterns where volume increases on the head or right shoulder (instead of decreasing) are suspect — they may represent continuation rather than reversal. Always verify the volume sequence before committing to the trade.
The institutional-grade pattern test: All five rules must align for a high-probability setup. Patterns missing 1-2 rules may still complete sometimes but produce inconsistent results. Patterns missing 3+ rules are essentially random shapes — trading them produces sub-50% win rates. Strict adherence to the 5-rule filter eliminates roughly 60-70% of perceived patterns, leaving only the high-probability setups.
5. Entry, Stop, and Target Calculation
Pattern identification alone does not produce profit — entry timing, stop placement, and target calculation determine actual results. Here is the precise framework.
Entry Trigger #1 — The Conservative Entry (breakdown close): Wait for a candle to close decisively below the neckline support. The close confirms the breakdown rather than just a wick that gets immediately rejected. Enter short on the close of the breakdown candle. Lower win rate due to slightly worse entry price, but eliminates fake-out risk that traps aggressive entries.
Entry Trigger #2 — The Aggressive Entry (intra-bar breakdown): Enter immediately when price first crosses below the neckline, before the candle closes. Better entry price, but exposes you to fake-out wicks. Best combined with a "stop-on-bar-close" rule: if the breakdown candle does not close below the neckline, exit immediately even if you entered intra-bar.
Stop-Loss Placement: Standard rule — place stop just above the right shoulder's high. If price breaks back above the right shoulder, the pattern has failed and the breakdown was likely a fake-out. Add 0.5 to 1 ATR buffer above the level to avoid stop-outs from normal volatility. For more aggressive trades, stop above the head is more conservative but reduces R:R significantly.
Target Calculation (the measured move): The classic target rule is the "measured move" — measure the vertical distance from the head's peak to the neckline, then project that distance downward from the breakdown point. If the head is 100 pips above the neckline and the breakdown occurs at 1.1000, the target is 1.0900. This measured move target is statistically reliable across markets and timeframes.
Why the measured move works: The pattern's vertical extent represents the magnitude of accumulation and distribution. The bigger the structure (taller head), the more institutional flow has been positioned for the reversal — proportionally larger continuation in the new direction. This is a fundamental principle of measured-move analysis across all classical patterns.
Typical R:R: With stop above the right shoulder and target equal to head depth, the R:R typically falls between 2:1 and 4:1 depending on the pattern's proportions. Always aim for setups with at least 2.5:1 R:R; below this, the edge becomes too thin for consistent profitability.
6. How Do You Trade Head and Shoulders? Four Proven Strategies
Strategy 1: The Classic Breakdown (Beginner)
The textbook setup. Identify a valid H&S using all 5 rules. Wait for the breakdown candle to close decisively below the neckline on expanded volume. Enter short on close. Stop above the right shoulder + 0.5 ATR. Target = head height projected downward. Expected R:R: 2.5:1 to 4:1. Expected win rate: 55-65% on properly validated patterns.
Strategy 2: The Retest Entry (Intermediate)
After the initial breakdown, wait for a pullback to retest the broken neckline. Enter short on the retest. Stop above the right shoulder. Target = head height projected from original breakdown. Better R:R (3:1 to 5:1) but you miss 40% of patterns that break down without pullbacks. Best combined with Strategy 1 as a half-position approach.
Strategy 3: H&S + Smart Money Confluence (Advanced)
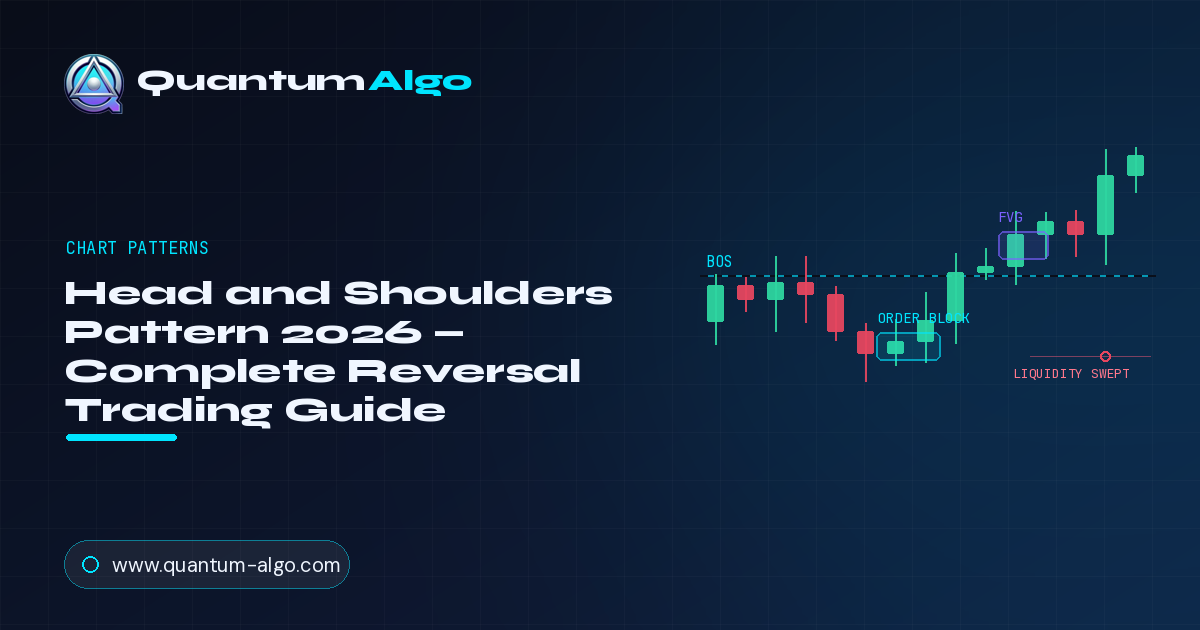
Look for patterns where the head forms at a higher-timeframe bearish order block, FVG, or major resistance zone. When the pattern's structural peak coincides with institutional positioning, you have two independent reasons for reversal. Win rates jump to 70-80% on these confluence setups.
This is one of the highest-edge applications of classical chart patterns. See our Order Block Guide and Fair Value Gaps Guide for confluence techniques.
Strategy 4: Multi-Timeframe Nested H&S (Expert)
Identify a major H&S on the Daily or 4H chart. Drop to the 1H or 15M chart and find a smaller H&S nested inside the right shoulder of the larger pattern (often forming as the larger right shoulder completes). The LTF pattern gives you precise entry; the HTF pattern provides the wider target. Patterns within patterns produce exceptional R:R (4:1 to 8:1) but require patience.
7. Common H&S Mistakes
Mistake 1: Trading patterns without a prior uptrend. Three peaks in a sideways range are NOT a head and shoulders — they are just three peaks. Without the prior uptrend providing the trend that the pattern reverses, there is no reversal logic. Always measure the prior advance before considering any H&S setup.
Mistake 2: Accepting marginal head separation. If the head only exceeds the shoulders by 2-3%, the pattern is weak — essentially three equal peaks. Weak patterns produce weak signals. Always require at least 5-10% separation between the head and shoulder heights for textbook patterns.
Mistake 3: Ignoring the volume sequence. Volume increasing on the head or right shoulder (instead of decreasing) signals that bullish momentum is NOT exhausting — and the pattern is likely a continuation, not a reversal. Always verify the declining volume sequence before trading. This is the most common reason apparent H&S patterns fail.
Mistake 4: Trading breakdowns on flat volume. The single biggest fake-out source. H&S breakdowns without expanded volume have ~50% failure rate. Patterns with 2x+ average volume on breakdown have win rates above 65%. Always verify volume expansion before entering.
Mistake 5: Setting overly aggressive targets. The classic measured move (head height projected from breakdown) is statistically reliable. Traders who target 2x or 3x the measured move frequently see price reach the classic target then reverse — taking 100% give-back into losing trades. Stick with the measured move target; scale out partial positions for runners.
Mistake 6: Pattern hunting in ranging markets. H&S requires directional context (clear prior uptrend). Trying to identify the pattern in choppy, range-bound markets produces unreliable signals. Wait for clear uptrends before looking for H&S — the pattern's reliability depends on the dominant trend context.
8. Test Your Knowledge
Seven questions on head and shoulders pattern trading.
9. Detect Patterns with SMC Confluence
Identifying head and shoulders patterns across multiple pairs and timeframes while validating against 5 rules takes hours of manual analysis. Algorithmic detection combined with SMC confluence transforms classical pattern trading.
• Order block detection at H&S head locations — institutional confluence
• FVG identification in patterns — gap-fill targets aligned with structure
• Liquidity sweep alerts — head formation often involves sweep mechanics
• Multi-timeframe context — HTF reversal confirmation for LTF setups
• Smart alerts — notified when SMC + pattern confluence forms
Frequently Asked Questions
References & Related Guides
More in this topic
- Ascending Triangle Pattern: Complete Guide (2026)
- Bear Flag Pattern 2026 — Complete Bearish Continuation Guide
- Bullish Harami Pattern: Complete Trading Guide (2026)
- Candlestick Patterns Guide 2026 — Engulfing, Pinbar & More
- Chart Patterns: The Complete Guide (2026)
- Cup and Handle Pattern 2026 — Complete Trading Guide
- Dark Cloud Cover: Complete Candlestick Guide (2026)
- Doji Candlestick 2026 — Complete Indecision Pattern Guide
- Double Bottom Pattern 2026 — Complete Bullish Reversal Guide
- Double Top Pattern 2026 — Complete Bearish Reversal Guide
- Engulfing Candle 2026 — Complete Reversal Pattern Guide
- Evening Star Pattern: Complete Trading Guide (2026)