Marubozu Candlestick: Types, Meaning, Reliability and How to Trade It
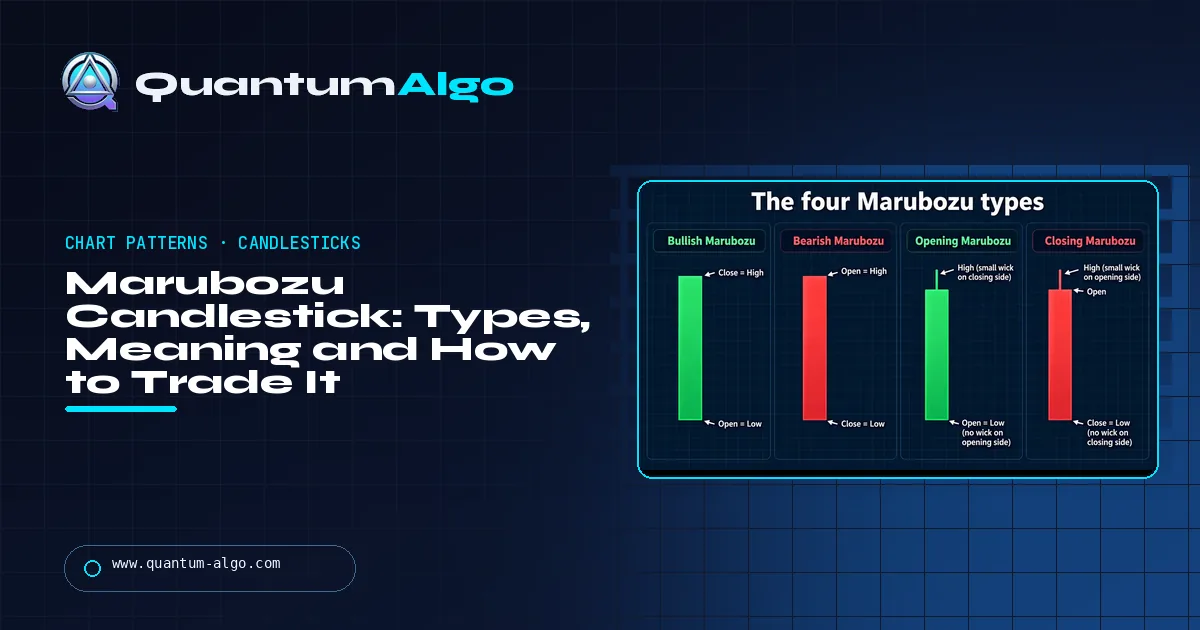
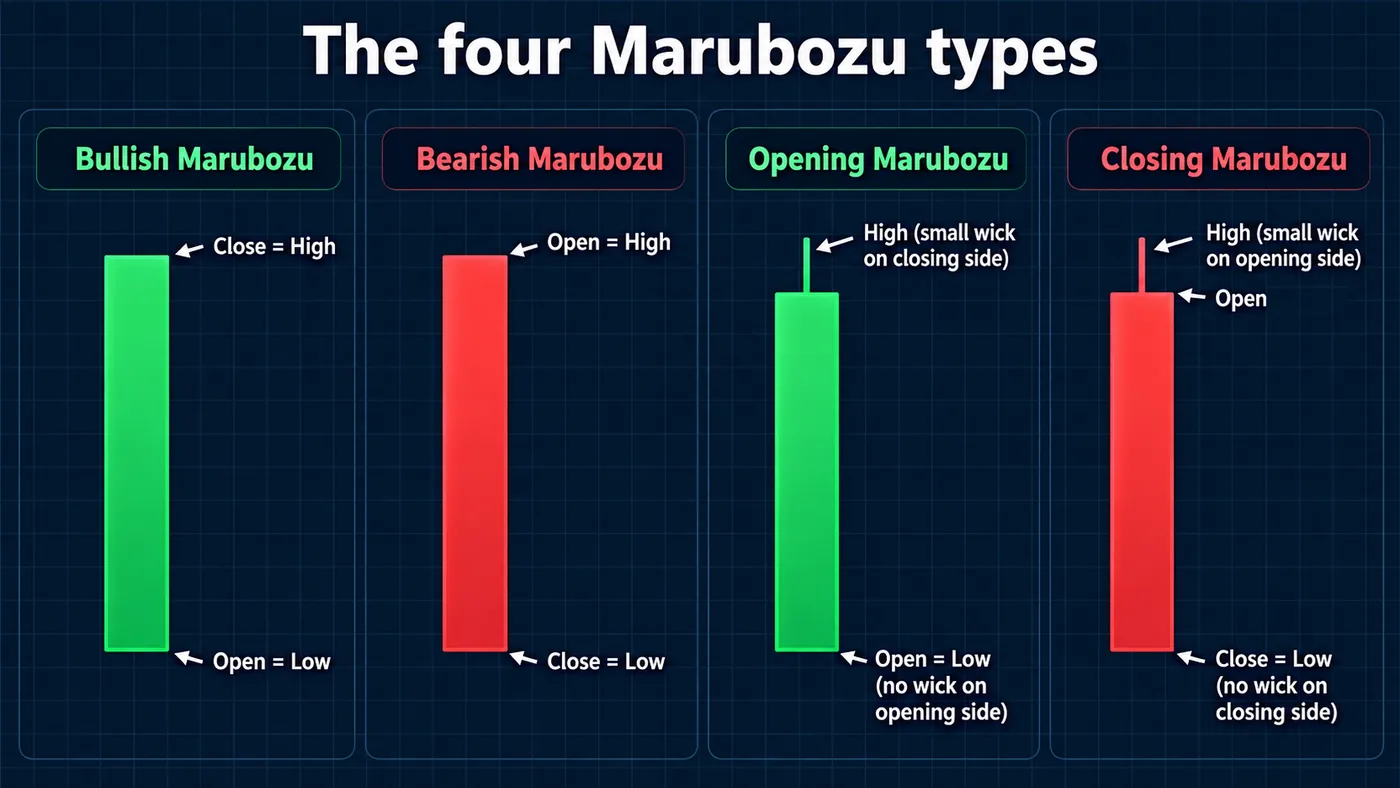
A marubozu is a candle with a full body and no shadows: a bullish marubozu opens at the low and closes at the high, a bearish one opens at the high and closes at the low. Opening and closing marubozus have no shadow on one side. It shows one side in control all session, but alone it is close to random — Bulkowski measured 56% continuation for the white marubozu — so trade it only where it closes beyond a level, is large and comes on rising volume.
Few candles look as decisive as a marubozu: no wicks, just a solid bar from one end of the session to the other. That is exactly why traders overrate it. This guide covers the four types, what the statistics actually show, how to use the candle where it matters — at levels, with size and volume — and how it differs from other strong candles.
Indicators that prove themselves in public.
One engine, four precision tools — the Gold (XAU) Scalper, the institutional Gravity Zone, the Zeno momentum Oscillator, and Zeno Stocks for equities.
What is a marubozu candlestick?
A marubozu is a candle with a full body and no shadows (wicks): a bullish marubozu opens at the low and closes at the high; a bearish marubozu opens at the high and closes at the low. The word is Japanese for "close-cropped" or "bald" — the candle has nothing sticking out of either end. It shows one side in control from the first trade to the last, with no pullback strong enough to leave a shadow.
Because it is one of the most forceful candles on a chart, the marubozu is often read as a strong continuation or reversal signal on its own. The data says otherwise: in Thomas Bulkowski's tests marubozu candles behave close to randomly in isolation, and their value comes from where they print. This guide covers the four types, what the statistics show, how to trade them in context — and a checker for any candle.
What are the types of marubozu?
| Type | Shape | What it says |
|---|---|---|
| Bullish (white) marubozu | Open = low, close = high, no shadows | Buyers in control all session |
| Bearish (black) marubozu | Open = high, close = low, no shadows | Sellers in control all session |
| Opening white marubozu | Opens at the low; small upper shadow | Buying from the open, some profit-taking late |
| Closing white marubozu | Closes at the high; small lower shadow | Early dip bought, closes at the highs |
| Opening black marubozu | Opens at the high; small lower shadow | Selling from the open, some buying late |
| Closing black marubozu | Closes at the low; small upper shadow | Early bounce sold, closes at the lows |
"Opening" and "closing" name the side without a shadow. Traders usually treat the closing versions as the stronger of the two, because the session ended at its extreme — there was no late reversal. On liquid markets a perfect marubozu is rare; most traders accept a shadow of a tick or two, or a few percent of the candle's range. The candlestick patterns guide places the marubozu among the other single-candle signals.
Is the marubozu a reliable pattern?
| Pattern (Bulkowski) | Acts as continuation | Performance rank (of 103) |
|---|---|---|
| White marubozu | 56% — near random | 71 |
| Closing white marubozu | 55% | 70 |
| Opening white marubozu | 54% | 75 |
| Black marubozu | 53% | 57 |
| Closing black marubozu | 52% | 43 |
| Opening black marubozu | 52% | 58 |
Thomas Bulkowski's statistics on thepatternsite.com, ranking 103 candlestick patterns, put every marubozu variant in the middle or lower half for performance and close to a coin flip on direction. A white marubozu was followed by a continuation 56% of the time; a black marubozu 53%. He also found that the candles work better in some locations — near the yearly low for reversals, near the yearly high more often as continuations — and that taller closing white marubozus moved further than average-height ones.
The lesson is not that the marubozu is useless; it is that the candle alone carries little edge. What it adds is information about force at a specific place: a close at the high through a level that matters is evidence; the same candle in the middle of nowhere is noise.

Automate your trades. Let Quantum Algo trade for you.
Every signal executed on your own account — on your account, with the plan you define.
How do you trade a marubozu?
| Context | Reading | Typical plan |
|---|---|---|
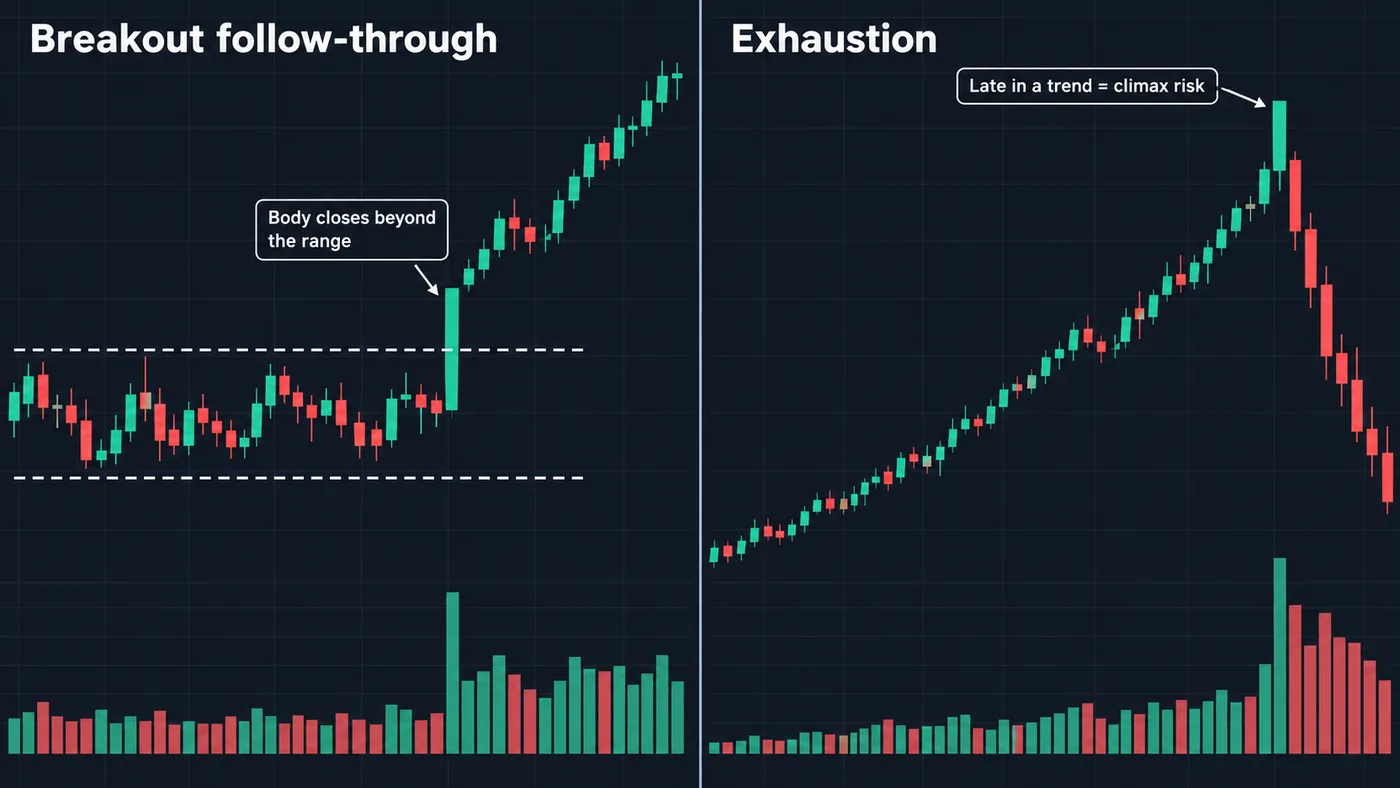
| Closes beyond a range or key level | Breakout with commitment | Enter on the close or a retest of the level; stop below the candle's midpoint or low |
| After a pullback in a trend | Trend resumption | Enter in trend direction; stop beyond the pullback low/high |
| After a long, extended run | Possible climax or exhaustion | Do not chase; wait for the next candles |
| Against the higher-timeframe trend | Counter-trend impulse | Treat as a warning, not an entry |
| Small marubozu (range below average) | Little information | Ignore |
Three filters make the candle useful. Location: it should close beyond something — a range high, a support or resistance level, a swing point. Size: its range should be large relative to recent candles, for example above 1.5 × ATR. Participation: rising volume confirms the move was traded, not just drifted. A marubozu that passes all three is the kind of displacement candle smart-money traders look for — the displacement guide covers how those candles leave fair value gaps behind them.
- Mark your levels first. Range highs and lows, swing points, higher-timeframe zones.
- Wait for the close. A marubozu is only confirmed when the candle closes.
- Check size and volume. Range above average; volume rising.
- Choose the entry. On the close, or on a retest of the broken level or the candle's midpoint.
- Place the stop. Below the midpoint or the low of a bullish marubozu (above for bearish).
- Target the next level. The next range boundary or liquidity pool; the candle's own height is a rough measured move.
Marubozu checker
Enter a candle's open, high, low and close, the wick tolerance you accept and, optionally, an average range such as the ATR. The checker classifies the candle — full, opening or closing marubozu, or not one — and shows body and wick sizes as a share of the range and the candle's size against the average. The sample is a strong bullish candle.
Marubozu vs other strong candles
| Candle | Shape | Difference |
|---|---|---|
| Marubozu | Full body, no shadows | One candle, one side in full control |
| Engulfing | Body engulfs the previous body | Two-candle pattern; shadows allowed |
| Three white soldiers | Three long bullish candles | Three candles; small shadows allowed |
| Belt hold | Opens at the extreme, closes near the other end | Similar to an opening marubozu, appears after a trend |
| Hammer / doji | Long shadows, small body | The opposite: indecision or rejection, not force |
What mistakes do traders make with marubozu candles?
- Treating every marubozu as a signal, regardless of where it prints.
- Entering before the candle closes — until then it is not a marubozu.
- Chasing a marubozu at the end of a long run into resistance.
- Ignoring size: on a quiet day a small "marubozu" means almost nothing.
- Requiring a perfect zero-shadow candle on a liquid market and missing valid ones, or accepting large shadows and calling every big candle a marubozu.
Reference data
| Item | Value |
|---|---|
| Meaning | Japanese for "close-cropped" or "bald" |
| Bullish marubozu | Open = low, close = high |
| Bearish marubozu | Open = high, close = low |
| Opening marubozu | No shadow on the open side |
| Closing marubozu | No shadow on the close side |
| White marubozu continuation (Bulkowski) | 56% |
| Black marubozu continuation (Bulkowski) | 53% |
| Patterns ranked | 103 (Bulkowski) |
How does the marubozu fit with Quantum Algo's indicators?
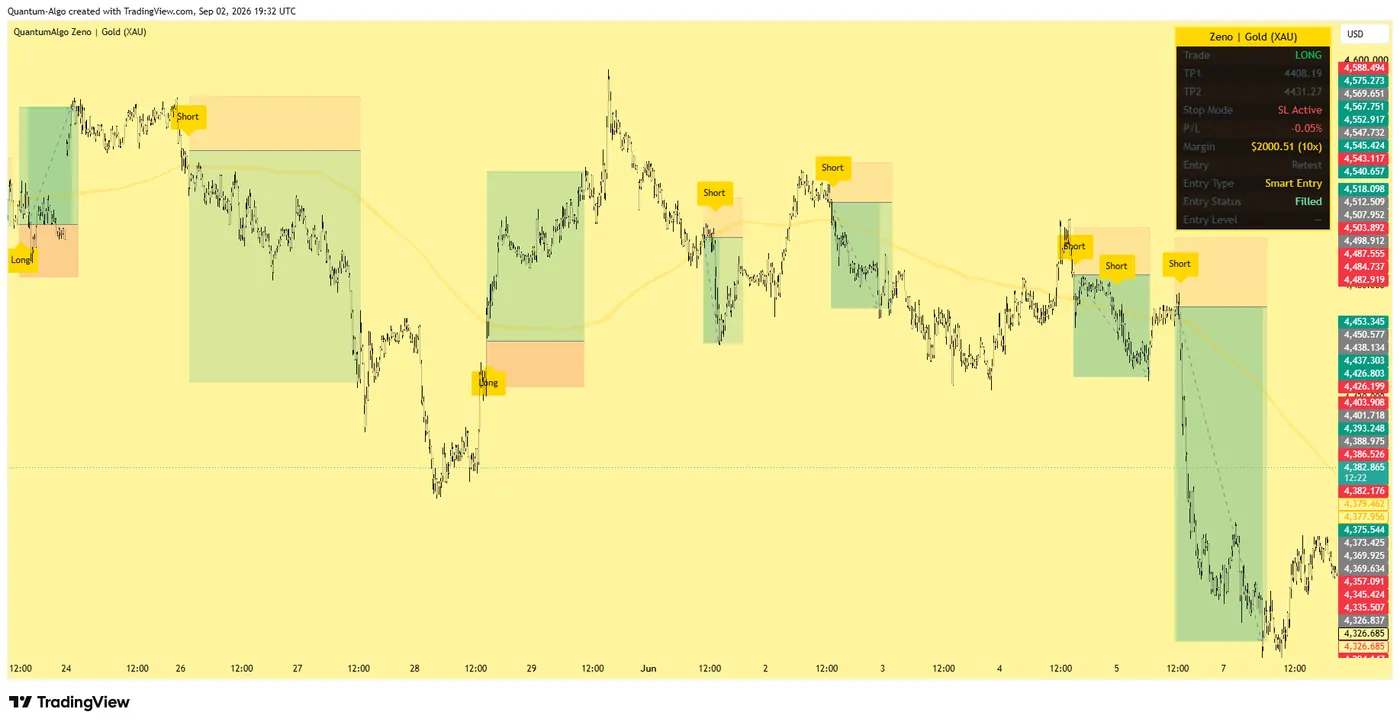
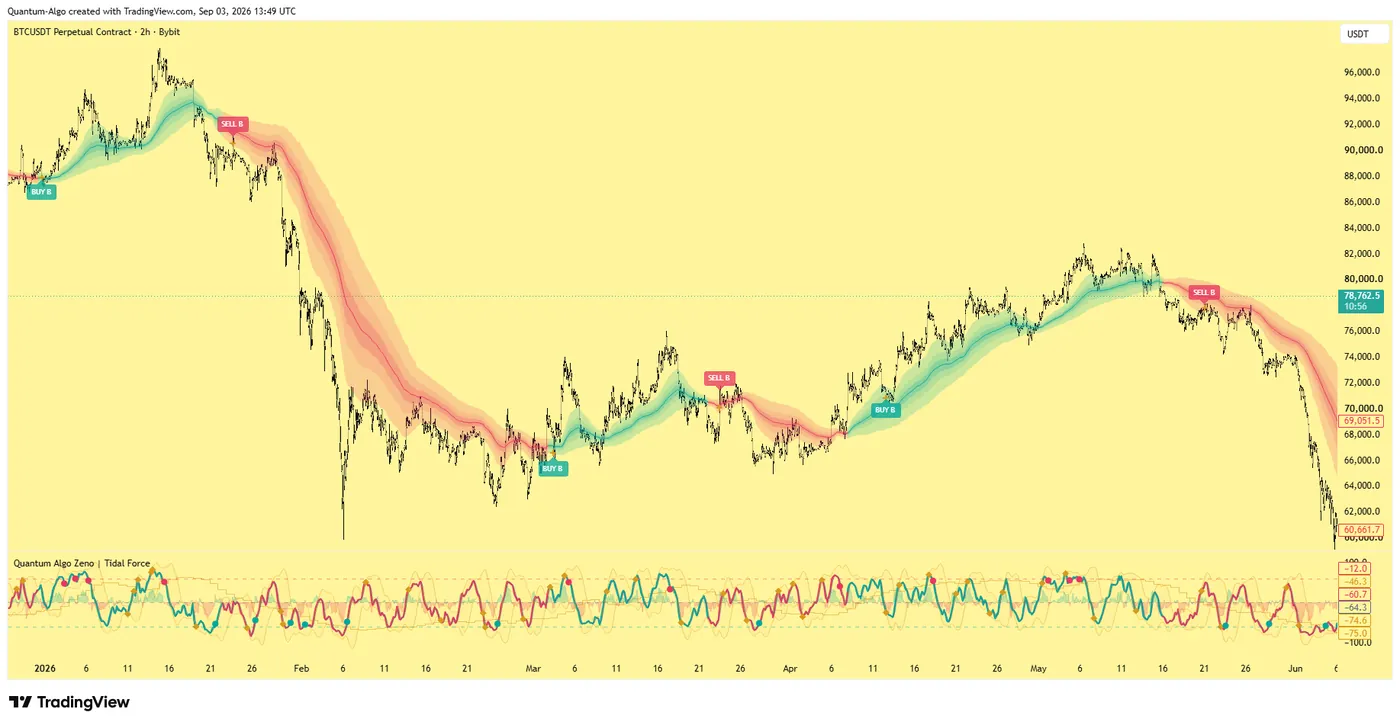
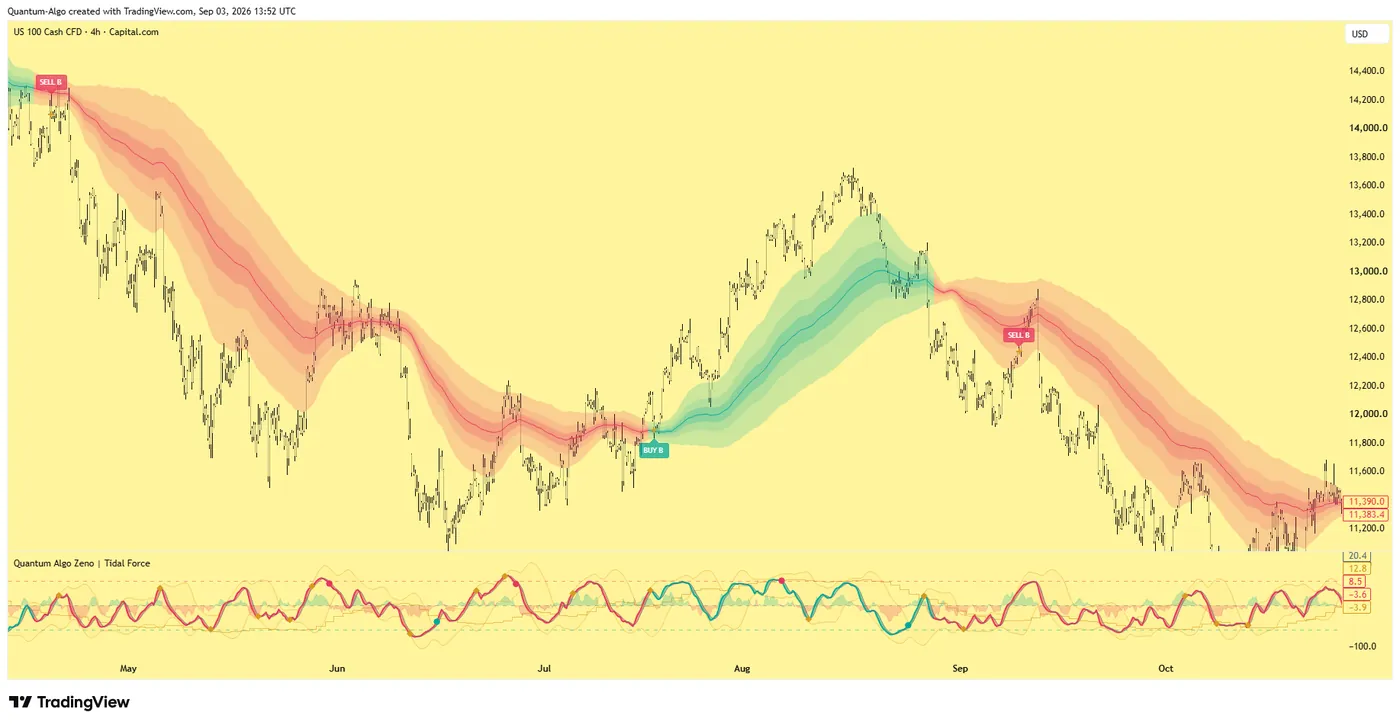
A marubozu is a footprint of force; structure tells you whether that force matters. The free Quantum Algo indicators mark structure breaks, liquidity and key levels on TradingView, so a marubozu closing through a marked level stands out from one in the middle of a range. Zeno, the premium engine, prints its own buy and sell signals with an entry, a stop and two targets, and every call is on the public track record.
The marubozu is a full-bodied candle with no shadows that shows one side in control all session. On its own it is close to random, so use it as evidence at a level: a large marubozu closing beyond a range or key level on rising volume is meaningful; a small one in the middle of a range is not.
◆ Interactive check
Do you know the marubozu?
Questions traders ask about the marubozu
A candle with a full body and no shadows. A bullish marubozu opens at the low and closes at the high; a bearish marubozu opens at the high and closes at the low.
Either. A white (green) marubozu is bullish and a black (red) one is bearish; what it means for the next move depends on where it prints.
An opening marubozu has no shadow on the open side; a closing marubozu has no shadow on the close side. The closing version ended the session at its extreme.
On its own, not very. In Thomas Bulkowski's statistics the white marubozu continued 56% of the time and the black marubozu 53%, with mid-to-low performance ranks among 103 candlestick patterns.
Classically no, but on liquid markets traders usually accept a tick or two, or a few percent of the candle's range.
Wait for the close, check that it broke a level with an above-average range and rising volume, then enter on the close or a retest, with a stop below the midpoint or low and a target at the next level.
It can be a climax: the last burst of buying or selling before a reversal. Wait for the next candles before acting on it.
Not quite. A belt hold opens at one extreme and closes near the other, typically appearing after a trend, and may have a shadow on the close side — similar to an opening marubozu.
Daily and higher candles carry more weight because they reflect a full session; on intraday charts small marubozus are common and mean little.
The shape is the same, but on 24-hour markets the open and close depend on the session cut-off, so the same move can look different between platforms.
References & Related Guides
Read next
- Candlestick Patterns
- Engulfing Candle
- Three White Soldiers
- Hammer Candlestick
- Doji Candlestick
- Displacement Trading
- Breakout Trading Strategy
- Support and Resistance
- Fair Value Gaps
- ATR Guide
- Free TradingView indicators
- Zeno — the premium engine